The following steps show how to get your Virtual CCIE SP lab based on INE topology. The screenshots are based on VMware Workstation 10 running on Windows 7.
Step 1. Download IOS XRv (iosxrv-demo-5.1.1.vmdk) from the following location. You need to have Cisco SSO account to be able to download.
Step 2. Running XRv in VMware Workstation 10
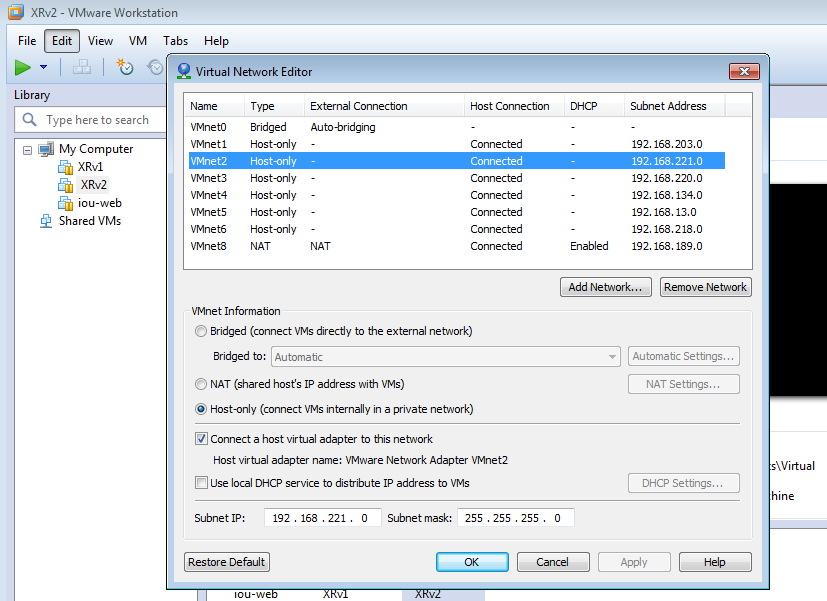
a. Fire up VMware Workstation, Edit > Virtual Network Editor, configure as below:
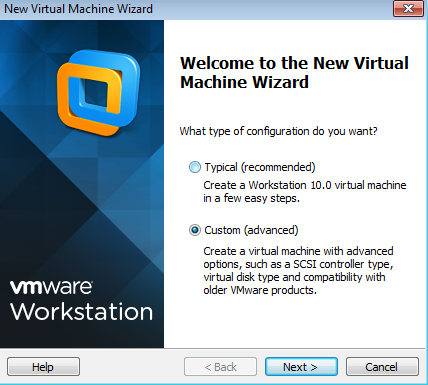
b. VMware Workstation, File > New Virtual Machine (Ctrl +N), select Custom (advanced), then click next.
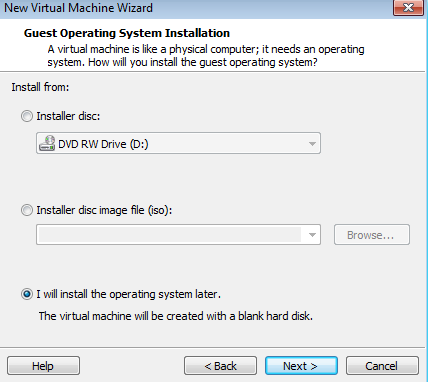
c. Select I will install the operating system later
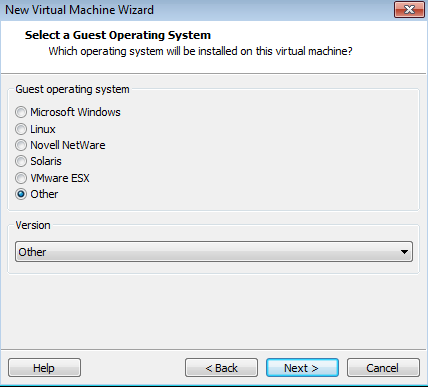
d. Choose Other > Other option for Guest Operating System, then provide your VM a name and select appropriate location
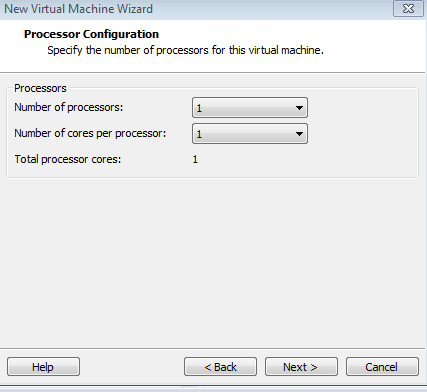
e. Leave the Processor Configuration to default (1)
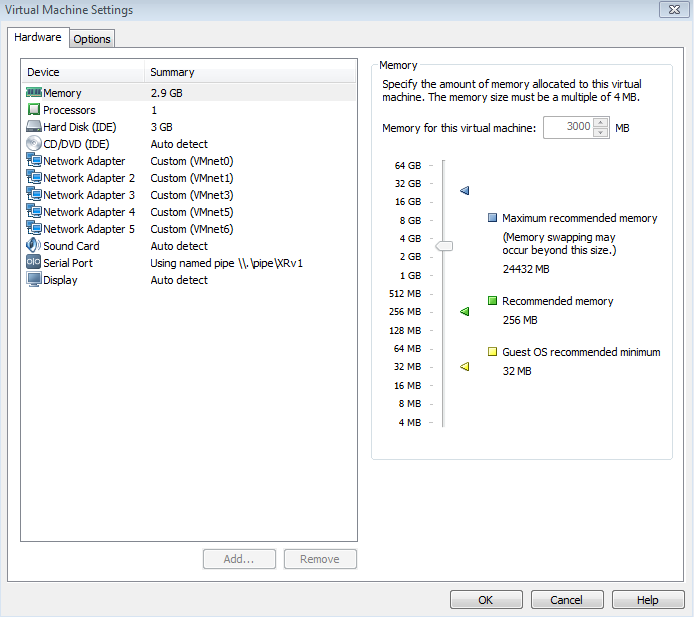
f. Allocate 3GB of memory (Cisco’s recommendation but 2 GB is works) to each XRv Virtual Machine.

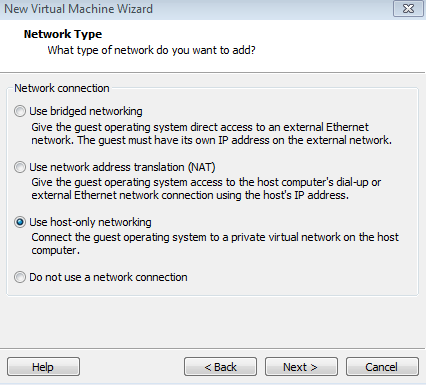
g. Select Network Type to Use host-only networking, then click next (default), next (default)
h. Select Use an existing virtual disk, click next, point to the XRv image filename you have downloaded earlier. Next, and click Keep Existing Format, click Finish

i. Right-click on your Virtual Machine name you have created earlier, Select settings, XRv1 and XRv2 have to have the following settings respectively.
Network Adapter2(VMnet1) <—> XRv1_g0/0/0/0
Network Adapter3(VMnet3) <—> XRv1_g0/0/0/1
Network Adapter4(VMnet5) <—> XRv1_g0/0/0/2
Network Adapter5(VMnet6) <—> XRv1_g0/0/0/3
Network Adapter3(VMnet3) <—> XRv1_g0/0/0/1
Network Adapter4(VMnet5) <—> XRv1_g0/0/0/2
Network Adapter5(VMnet6) <—> XRv1_g0/0/0/3
Network Adapter2(VMnet2) <—> XRv2_g0/0/0/0
Network Adapter3(VMnet4) <—> XRv2_g0/0/0/1
Network Adapter4(VMnet5) <—> XRv2_g0/0/0/2
Network Adapter5(VMnet6) <—> XRv2_g0/0/0/3
Network Adapter3(VMnet4) <—> XRv2_g0/0/0/1
Network Adapter4(VMnet5) <—> XRv2_g0/0/0/2
Network Adapter5(VMnet6) <—> XRv2_g0/0/0/3
XRv1:
XRv2:

j. Each XRv has to have a serial port. Set serial ports as follows:
XRv1:
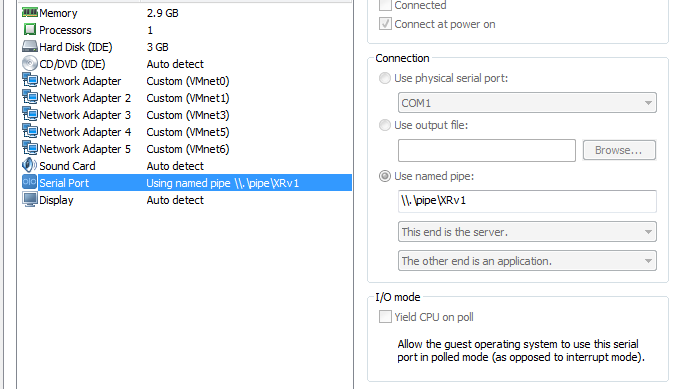
XRv2:

k. Navigate to your VM folder and open XRv1.vmx (your VM name) file and add the following:
ethernet0.virtualDEV = “e1000″
ethernet1.virtualDEV = “e1000″
ethernet2.virtualDEV = “e1000″
ethernet3.virtualDEV = “e1000″
ethernet4.virtualDEV = “e1000″
ethernet1.virtualDEV = “e1000″
ethernet2.virtualDEV = “e1000″
ethernet3.virtualDEV = “e1000″
ethernet4.virtualDEV = “e1000″
example:
more...
....
ethernet0.virtualDev = "e1000"
ethernet0.connectionType = "bridged"
ethernet0.startConnected = "TRUE"
ethernet0.addressType = "generated"
ethernet1.present = "TRUE"
ethernet1.virtualDev = "e1000"
ethernet1.connectionType = "custom"
ethernet1.startConnected = "TRUE"
ethernet1.addressType = "generated"
toolscripts.afterpoweron = "true"
toolscripts.afterresume = "true"
toolscripts.beforepoweroff = "true"
toolscripts.beforesuspend = "true"
extendedConfigFile = "R3.vmxf"
virtualHW.productCompatibility = "hosted"
uuid.bios = "56 4d 08 e6 c9 7e 1b c9-f1 66 63 3e f1 db 6a 52"
uuid.location = "56 4d 08 e6 c9 7e 1b c9-f1 66 63 3e f1 db 6a 52"
replay.supported = "FALSE"
replay.filename = ""
ide0:0.redo = ""
pciBridge0.pciSlotNumber = "17"
pciBridge4.pciSlotNumber = "21"
pciBridge5.pciSlotNumber = "22"
pciBridge6.pciSlotNumber = "23"
pciBridge7.pciSlotNumber = "24"
ethernet0.pciSlotNumber = "32"
ethernet1.pciSlotNumber = "33"
vmci0.pciSlotNumber = "34"
ethernet0.generatedAddress = "00:0c:29:db:6a:52"
ethernet0.generatedAddressOffset = "0"
ethernet1.generatedAddress = "00:0C:29:DB:6A:5C"
ethernet1.generatedAddressOffset = "10"
vmci0.id = "-237278638"
monitor.phys_bits_used = "40"
vmotion.checkpointFBSize = "33554432"
cleanShutdown = "TRUE"
softPowerOff = "FALSE"
ethernet1.vnet = "VMnet5"
ethernet2.present = "TRUE"
ethernet2.vnet = "VMnet4"
ethernet2.connectionType = "custom"
ethernet2.addressType = "generated"
ethernet3.present = "TRUE"
ethernet3.vnet = "VMnet14"
ethernet3.connectionType = "custom"
ethernet3.addressType = "generated"
ethernet4.present = "TRUE"
ethernet4.vnet = "VMnet13"
ethernet4.connectionType = "custom"
ethernet4.addressType = "generated"
ethernet5.present = "TRUE"
ethernet5.vnet = "VMnet6"
ethernet5.connectionType = "custom"
ethernet5.addressType = "generated"
ethernet2.pciSlotNumber = "35"
ethernet3.pciSlotNumber = "36"
ethernet4.pciSlotNumber = "37"
ethernet5.pciSlotNumber = "38"
ethernet2.generatedAddress = "00:0c:29:db:6a:66"
ethernet2.generatedAddressOffset = "20"
ethernet3.generatedAddress = "00:0c:29:db:6a:70"
ethernet3.generatedAddressOffset = "30"
ethernet4.generatedAddress = "00:0c:29:db:6a:7a"
ethernet4.generatedAddressOffset = "40"
ethernet5.generatedAddress = "00:0c:29:db:6a:84"
ethernet5.generatedAddressOffset = "50"
ethernet2.virtualDev = "e1000"
ethernet3.virtualDev = "e1000"
ethernet4.virtualDev = "e1000"
ethernet5.virtualDev = "e1000"
serial0.present = "TRUE"
serial0.fileType = "pipe"
serial0.fileName = "\\.\pipe\xr3"
serial0.tryNoRxLoss = "TRUE"
floppy0.present = "FALSE"
toolsInstallManager.updateCounter = "1"
more...
....
Perform this step to both the XRv Virtual Machines.
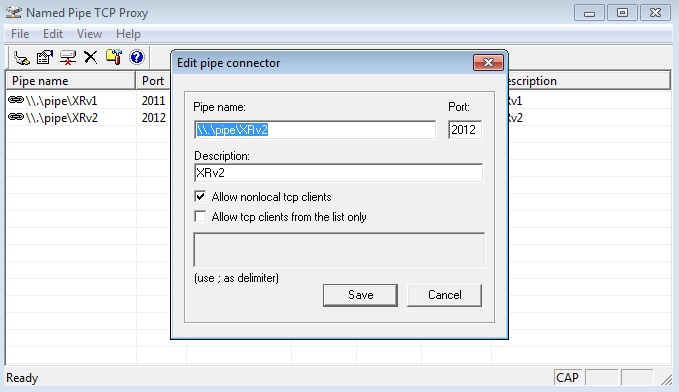
Step 3: Install Named Pipe TCP Proxy and configure as follows:
http://shvechkov.tripod.com/nptp.html
http://shvechkov.tripod.com/nptp.html

Step 4. Start the VMs (XRv1 and XRv2) and log-in using either putty or SecureCRT as follows:
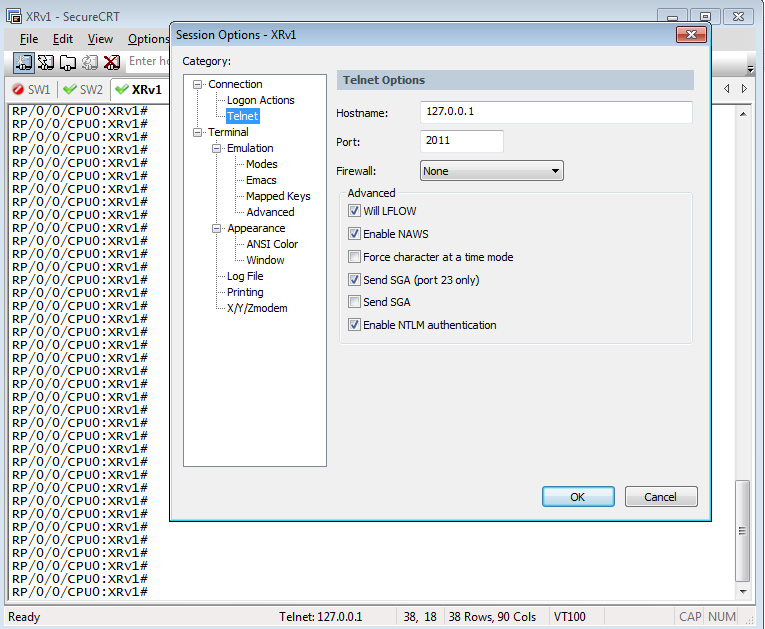
Source http://packetsandframes.com/2014/04/18/building-ine-ccie-sp-virtual-lab-on-cisco-xrv-and-iou-web-2/#comment-29
沒有留言:
張貼留言